Return to All Articles
Article Sections
1. Getting Started
2. Leads
3. Library
4. Sales Template
5. Estimate
6. Proposal
7. Invoice
8. Change Order
9. Organization Management
10. Team Management
Update Team Details/Branding
Personalize your Erro Team by adding your own branding and details.
By Erro Support | 01/25/2026
1. Intro
Within the Erro application, you can personalize your team by updating its details and branding to reflect your company's identity. This will reflect across the entire application for all members of the team to see. Follow the steps below to update your team's details and branding.
2. Open Team Settings
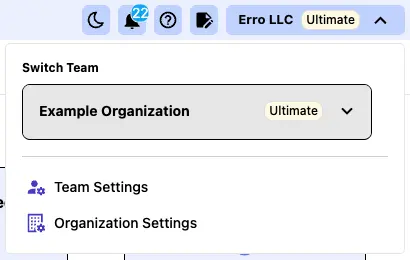
From any page within the Erro app, click on the organization name that you are currently viewing in the top left corner. This will open a dropdown menu where you can select 'Team Settings' to view team settings.
3. Click the 'Branding' Tab
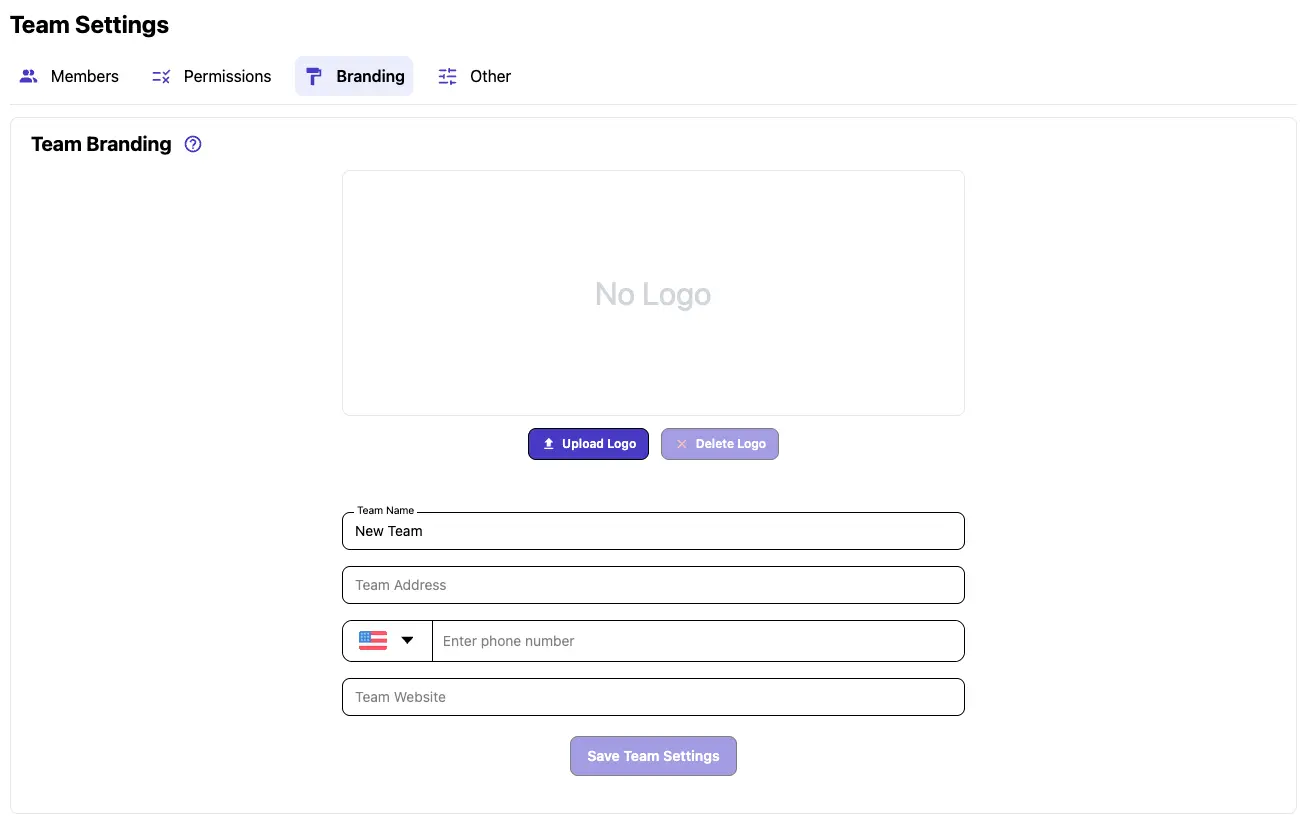
Click on the 'Branding' tab within the Organization Settings to access branding options.
4. Upload an Organization Logo
To add your own logo or business image to the organization, click the 'Upload Logo' button and select an image file from your device. This will automatically update the logo across the entire application.
5. Update Organization Details
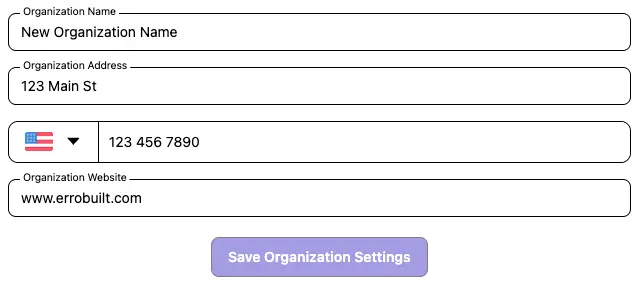
Fill in all of the details you want to add in the details section. Then click 'Save Organization Settings' to save your changes.
Other Team Management Articles
Explore more articles to help you get the most out of Erro.
Manage Team Permissions
Learn how to manage team permissions and roles.
Erro Support
Manage Team Members
Learn how to add and remove people from your team.
Erro Support
Manage Team Details
Learn how to customize your team details and add branding information.
Erro Support
Turn On Internal Approvals
Learn what Internal Approvals are and how to enable them.
Erro Support
Turn On Base and Options Pricing
Learn what Base and Options Pricing is and how to enable it.
Erro Support